First, let me explain about The Balcony of Knowledge. There is no bar or restaurant at Oceanview Marina. However, there is a nice balcony and an "honor bar"--a refer stocked with beer, water, and sodas. And there's a killer view of the sunset (and a welcome breeze) from the balcony. So cruisers hanging out in the marina tend to congregate for a cold beer and a little breeze to watch the sun goes down. You can learn some amazing things on this balcony. Cruisers from all over the world are working on their boats in the marina, and they are happy to share their knowledge and their opinions.
The way I heard it, some cruiser had painted his deck with this stuff 10 years ago and was very satisfied with it. He told Marcel on s/v Mintaka San about this locally-available, inexpensive deck paint. Marcel went right down to the hardware store, bought the stuff, and put it on his deck. (Later, I directly queried the original guy, and he hadn't really used the Philippine product, but something very similar, in the general category of an "elastomeric roofing sealer".) Dave took a look at the job that Marcel did with it on Mintaka San, and liked what he saw. Meanwhile, he told another cruiser about it, who also put it on his deck.
Dave's favorite "deck shoe" is a pair of fancy Croc-like flip-flops. These are easy-on shoes, and comfortable on the foot. But deck shoes they ain't. And our deck on the new Soggy Paws isn't very grippy. When it gets wet, it's a little slippery, especially with Dave's favorite slick-bottomed shoes. So Dave has been wanting to do "something" with the deck. He had previously re-done the decks on the old Soggy Paws with epoxy and "sand", and he knew how much work it was to get a good finish and an even layer of sand. He did a little reading about Kiwi-Grip and how easy it is to apply, and he was hooked on the idea. I wasn't so sure.
I Googled for hours, trying to find someone else who had used THIS product on his deck. I couldn't find one. I did find out a lot of information about Kiwi Grip, which did sound like a wonder product.
The key to the whole process is a thick, latex-based "elastomeric" paint, and a special "loopy" roller that gives the paint texture. (If you buy the kit from Kiwi Grip, you get paint made for marine deck paint, the loopy roller, and detailed instructions). Basically, you goop on the paint, let it dry until it's almost tacky, and then roll it with the loopy roller, which makes a nice textured surface. By varying how thick the paint is and how long you let it dry before rolling it with the loopy roller, you can control how aggressive the textured surface is. Kiwi Grip strongly recommends practicing on something non-critical to get the technique right before starting on highly visible parts of your deck!
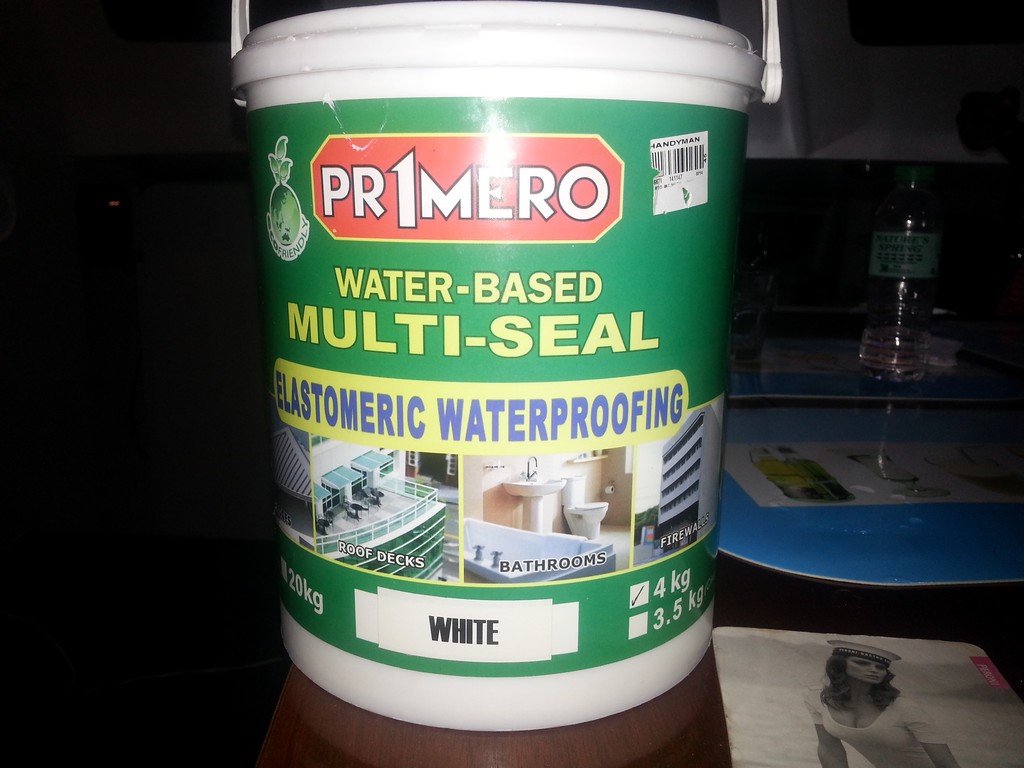
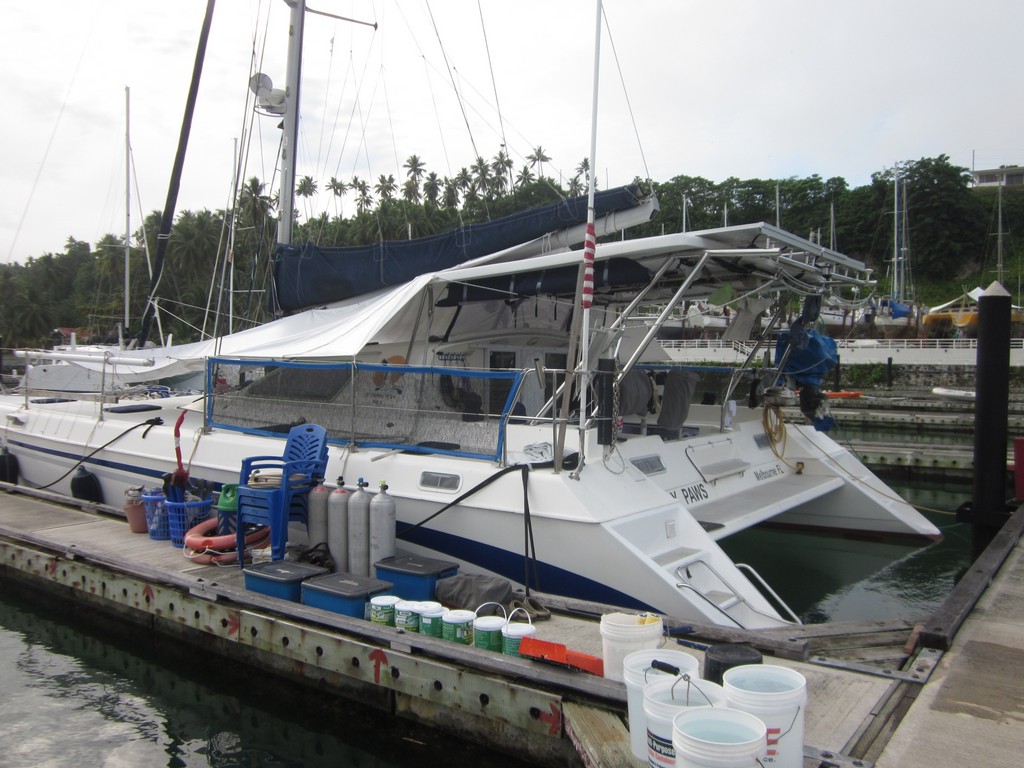
So we started stockpiling the Primero brand Elastomeric Roofing Sealer. The hardest part was finding enough white to mix with the light grey "Cosmic Sand" color to make the color a very very light grey. (Too dark, even a little dark, and the deck is blazing hot on bare feet). We scoured every hardware store and paint shop in Davao to accumulate enough paint (8 gallons in all) to do our deck. We were looking for a 3:1 mixture, so we had 6 gallons of white and 2 gallons of Cosmic Sand, at a cost of about $20USD per gallon. The loopy rollers were fortunately in stock at Citi Hardware (though we'd been offer the loan of a pair of Kiwi Grip rollers by another cruiser). (We ended up having to run down to Ace Hardware at the end and buy another 3 gallons of paint--and we could only find 2 gallons of white, so we ended up with about 1/3 gallon of Cosmic Sand left over).
Since the paint is so thick, there's no tedious deck prep. You just have to make sure there's no greasy residue and no flakey bits on your old deck paint. Our helper Alex and another painter prepped our deck in one day. They scrubbed the whole deck on hands and knees with a stiff brush and soap and water. Then, with socks on to keep from making greasy spots on the deck, they taped off the non-nonskid areas with painters tape. Then they applied the paint in 3ft x 3ft sections. With the exception of one unexpected rain shower, the actual painting was complete in 3 days (port side, starboard side, cockpit area).


The rain shower... we were waiting for a couple of dry days to do the painting, and we were antsy to get going, so we got started a day early. The guys had just finished the 2nd section aft of the starboard bow, and a little rain cloud popped over the hill. It poured for about 15 minutes. Since it is latex-based (water based), all the paint they had just applied just washed off!! Once things dried out again the next morning, they just painted it again--no problems.
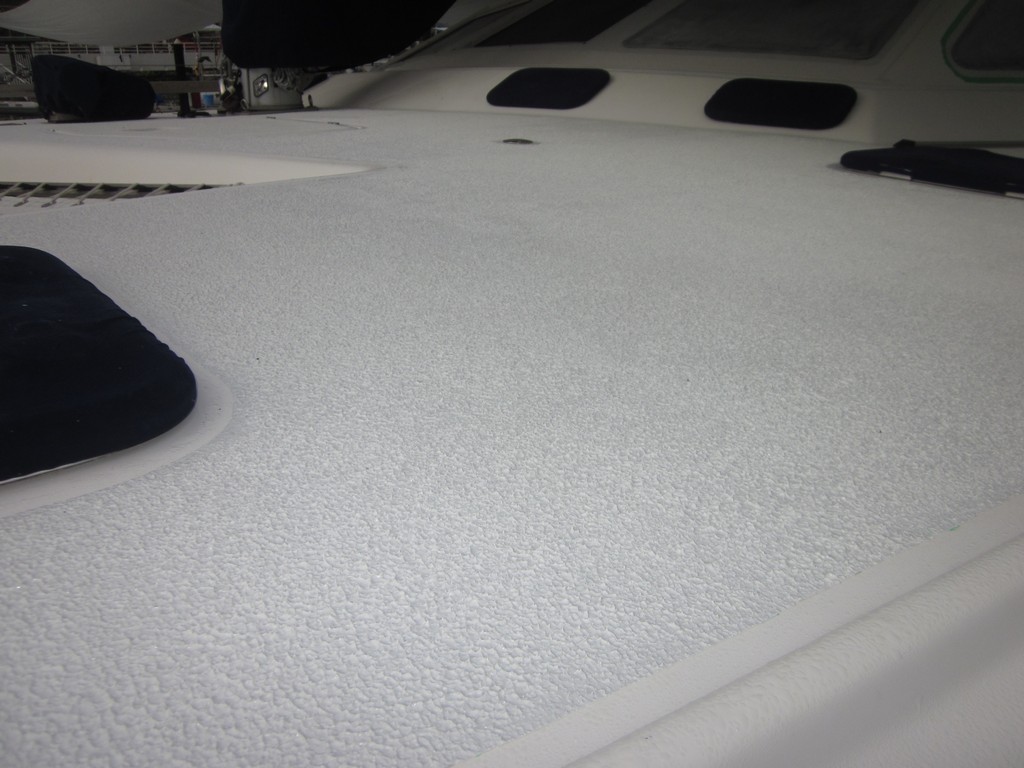
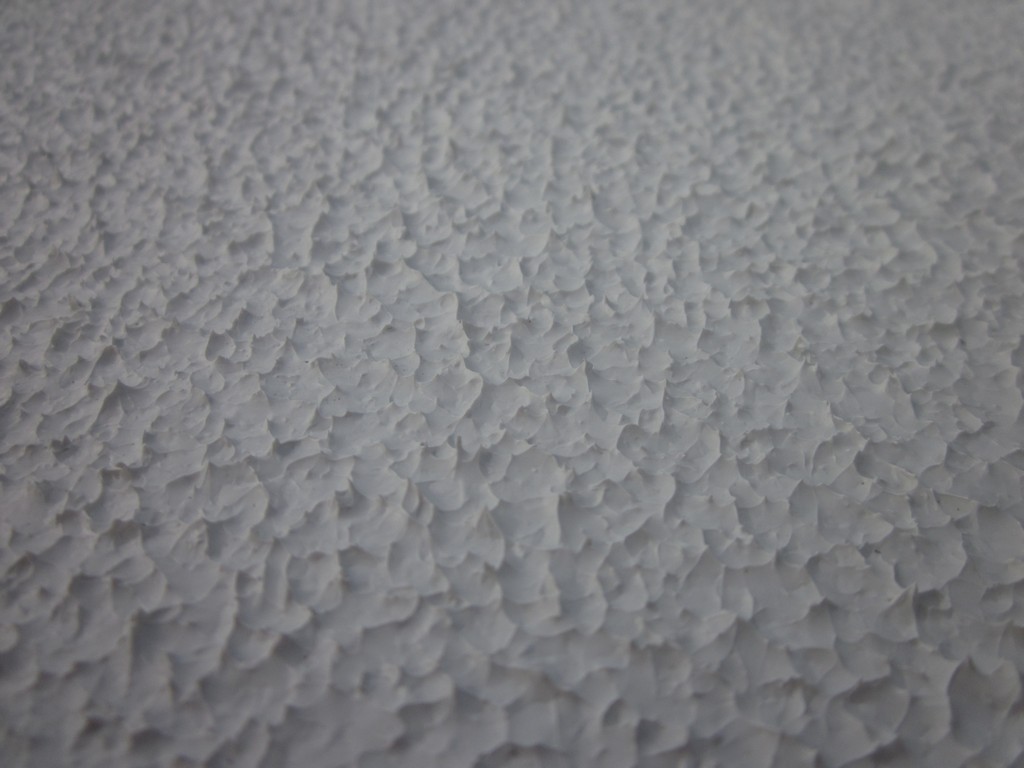
It took a week for the deck to dry fully, since the paint was applied so thick. It IS grippy! Thank God Dave decided not to paint the actual seats in the cockpit area--it's much too "aggressive" for sitting on in a bathing suit.
We'll report back in a year to let you know how it has turned out.
No comments:
Post a Comment